Have you ever wanted to add a vertical touch to your garden? A DIY trellis is the perfect way to do it. It supports climbing plants and brings a bit of charm to your outdoor space. In this blog post, I’ll walk you through how to make a DIY trellis that’s both useful and good-looking. Whether you’re new to gardening or have years of experience, this guide has you covered.
Trellises have been around for a long time, used in gardens everywhere from old Europe to modern backyards. They’re simple structures that help plants grow up instead of out. In this post, you’ll find everything you need to know about building your own DIY trellis. We’ll cover the materials, the steps, and even some extra ideas to make it your own. Plus, I’ll share tips on where to put it, how to care for it, and why it’s worth the effort. Let’s get started!
What Is a Trellis and Why Should You Use One?
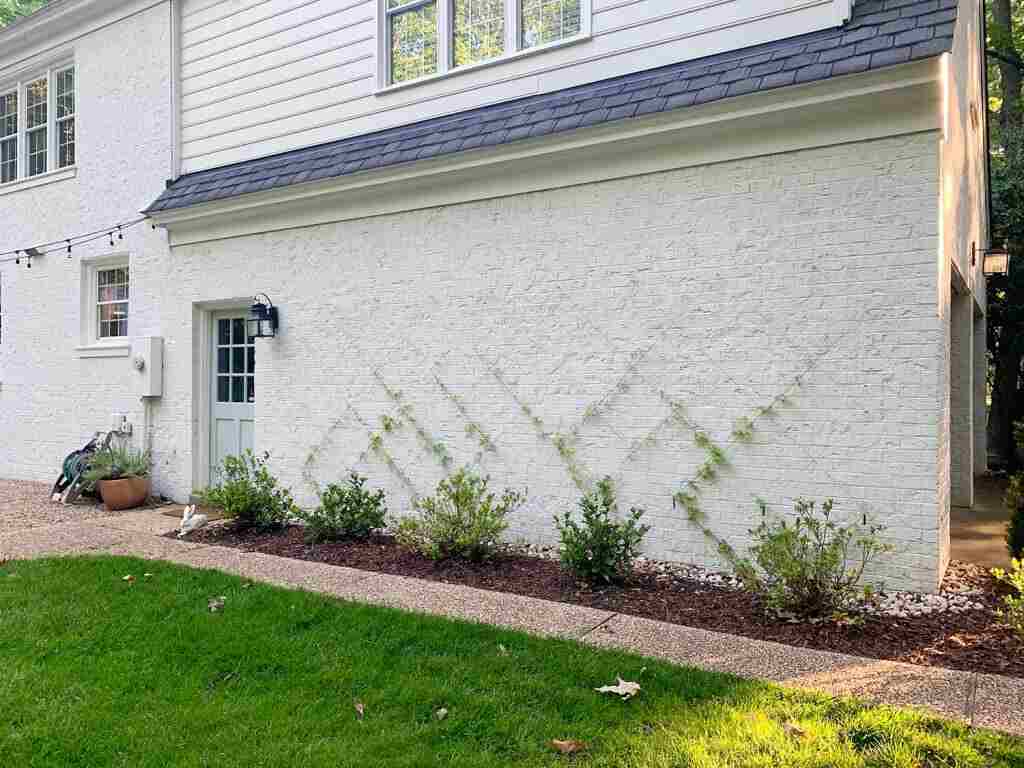
A trellis is a frame, usually made of wood or metal, that gives climbing plants something to hold onto. Gardeners use them to guide plants upward, which saves space and adds a nice look to the yard. A DIY trellis can also help your plants stay healthy by letting air move around them better.
Here’s why a trellis is a great addition to your garden:
-
Saves space: Growing up instead of out means more plants in less room.
-
Keeps plants healthy: Airflow cuts down on mold and other problems.
-
Looks nice: A trellis can be a standout feature in your garden.
-
Holds heavy plants: Things like grapevines or big flowers need strong support.
If you want to grow more in a small area or just make your garden prettier, a DIY trellis is a smart choice.
Also, Read Black House With White Trim: Design Ideas & Expert Tips
Materials and Tools You’ll Need
Before you start your DIY trellis, gather your supplies. Here’s what you’ll need for a basic wooden version:
Materials:
-
Wood: Cedar or pressure-treated lumber works best because it resists rot. Other wood is fine too, but seal it with a weatherproof coating.
-
Screws or nails: Pick galvanized ones so they don’t rust.
-
Paint or stain (optional): This protects the wood and adds color.
Tools:
-
Saw: A hand saw or power saw will do.
-
Drill: A power drill speeds things up.
-
Hammer: Needed if you’re using nails.
-
Measuring tape: For marking your cuts.
-
Level: To keep everything straight.
-
Safety gear: Gloves and safety glasses are a must with tools.
You can also try metal like wire or rebar, or even old stuff like ladders or pallets. For this guide, we’ll stick with a simple wooden trellis—great for beginners and easy to build.
Step-by-Step Guide to Building a DIY Trellis
Ready to make your trellis? We’ll build a ladder-style one, which is straightforward and works for most plants.
Step 1: Measure and Cut the Wood
You’ll need two vertical posts and a few horizontal pieces for a ladder-style trellis. The size depends on your garden, but 6 feet tall and 2 feet wide is a good starting point.
-
Vertical posts: Cut two pieces to your height (like 6 feet).
-
Horizontal pieces: Cut several to your width (like 2 feet). Space them 12-18 inches apart—decide how many you need based on that.
Mark the wood with a measuring tape and cut with a saw. If you’re using a power saw, wear your safety gear.
Step 2: Put the Frame Together
Lay the two vertical posts flat, side by side. Place the horizontal pieces across them at even spots—like every 12 inches. Mark the spots first if it helps.
Attach the horizontal pieces to the posts with screws or nails. If you use screws, drill small holes first so the wood doesn’t split. A drill makes this quick.
-
Tip: Check with a level to keep the horizontal pieces straight.
Step 3: Add Extra Support (Optional)
Want your trellis to be sturdier? Add diagonal braces on the back. They stop it from tipping, especially with heavy plants.
To add braces:
-
Cut two wood pieces at a 45-degree angle.
-
Attach them from the top of one post to the bottom of the other.
You can also add fun touches, like little caps or designs on top of the posts.
Step 4: Paint or Stain the Trellis (Optional)
To keep the wood safe from rain and sun, paint or stain it. Pick something made for outdoor use.
-
Tip: Paint before you put it together if you can—it’s easier to cover everything. If it’s already built, just take your time to get all the spots.
Let it dry fully before the next step.
Step 5: Set It Up in Your Garden
Time to place your trellis! Pick a spot with good sunlight—most climbing plants need 6 hours a day.
To install:
-
Dig two holes, 12-18 inches deep, for the posts.
-
Put the trellis in, making sure the posts sit in the holes.
-
Use a level to check it’s straight.
-
Fill the holes with dirt and pack it tight.
If it’s near a wall or fence, you can screw it in for extra hold.
Other Kinds of Trellises You Can Try
The ladder-style trellis is a solid pick, but there are other options depending on what you like and how much you want to do.
- Arched Trellis: An arched trellis looks soft and pretty. Use bendable wood or metal to shape it. You can also buy kits if bending isn’t your thing.
- Trellis with a Planter: This has a box at the bottom for plants, saving even more space. Build a wooden box and attach the trellis to it.
- Recycled Trellis: Use old stuff like pallets or a ladder for an earth-friendly trellis. It’s a fun way to reuse things you already have.
- Fan-Shaped Trellis: This one’s wide at the top and narrow at the bottom, like a fan. It’s great for plants that spread out. Angle the posts and space the cross pieces wider at the top.
Tips for Making Your Trellis
Here are some handy hints to make your DIY trellis project go smoothly:
-
Drill first: Make small holes for screws to avoid splitting wood.
-
Paint early: Finish the wood before assembling for full coverage.
-
Get help: A friend can hold pieces while you work.
-
Space evenly: Use a scrap piece as a guide for consistent gaps.
-
Stay level: Check often with a level for a straight trellis.
Picking the Best Spot for Your Trellis
Where you put your trellis matters. Here’s what to think about:
-
Sunlight: Most plants need 6 hours of sun—pick a bright spot.
-
Wind: If it’s windy where you live, set the trellis across the wind path to protect plants.
-
Ease: Put it where you can water and tend to it without trouble.
Think about how it looks too—a trellis can be a highlight in your yard.
Planting and Guiding Your Plants
With your trellis up, it’s time to add plants. Here’s how:
1. Pick Good Plants
Choose ones that fit your weather and sunlight. Some ideas:
-
Flowers: Roses, morning glories, clematis
-
Veggies: Tomatoes, cucumbers, beans
-
Vines: Ivy, grapes, wisteria
2. Plant Right
Give plants room to grow—check the label for spacing.
3. Guide Them Up
As they grow, tie the stems to the trellis with soft string or plant ties. Don’t tie too tight—it can hurt them.
-
Tip: Trim plants like tomatoes to keep them growing up, not out.
Taking Care of Your Trellis
Keep your trellis in good shape with these steps:
-
Clean it: Brush off dirt or old leaves.
-
Check it: Look for loose screws or rot—fix anything that’s off.
-
Refresh it: Add new paint or stain if it fades.
-
Watch plants: Look for bugs or sick spots and deal with them fast.
With a little care, your trellis will last a long time.
A Quick Look at Trellis History
Trellises go way back. The Romans and Greeks used them for grapevines. In the Middle Ages, monks grew herbs on them. Later, in fancy gardens, they got more detailed, making shady paths or framing views. Now, they’re still loved for their mix of use and style.
Wrapping Up
Building a DIY trellis is a fun project that makes your garden better. With some wood, tools, and a bit of time, you can create something that helps your plants and looks great. Whether you go simple or fancy, it’s doable for anyone.
Give it a shot! Your garden will love it, and so will you. Share how it goes in the comments or show off your trellis pics online. Happy gardening!